What is Angular 2?
Angular 2 is framework for Creating Single Page Application(Spa). angular2 is made up of component and directives and re usability of component made angular2 more popular. Component is basically made up of template, metadata and class. The second Key difference between angular 1 and angular 2 is angular 2 is written in type script so it make angular2 strictly typed language. By default it doesn’t support the two way binding of data so it makes it more faster than previous version of angular. Third advantage is after doing changes just save the page and browser updates the changes automatically . Isn’t it cool? There is lot to talk about the changes in angular2 and angular1 but here I am showing you how to getting started with angular2 using command line interface and start writing your first application. For more comparison between angular2 and angular you can simply visit the following URL:
https://angular.io/docs/ts/latest/cookbook/a1-a2-quick-reference.html
Steps for getting started with angular2 command line interface(cli)
Step 1: Install nodejs from https://nodejs.org/en/
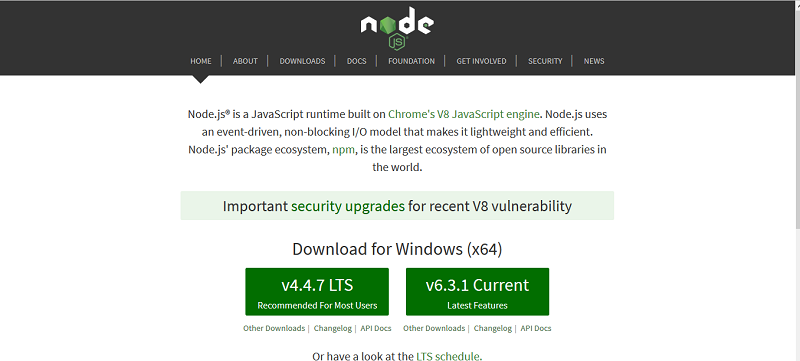
After installing nodejs then open command prompt on your machine or mac user open terminal.we required nodejs for hosting the angular to application locally.
Step 2: Installing angular-cli to Your Machine use –g to use it globally on your machine
Windows user
npm install –g @angular/cli
Mac User
Sudo npm install –g @angular/cli
Note: -g stands for global

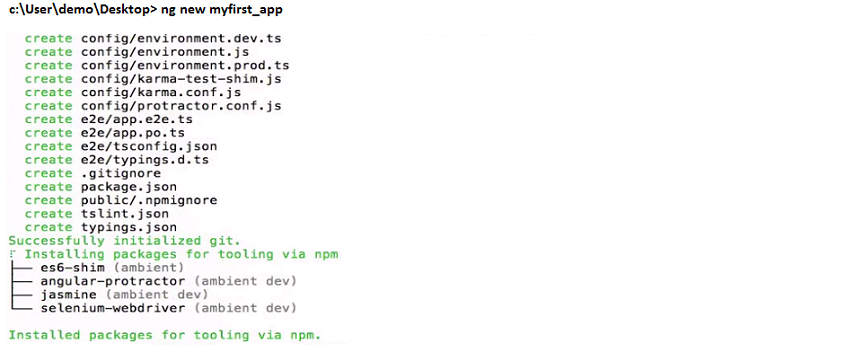
Step 3: Now Creating new Angular Application. In your command prompt navigate to directory in which you want to create the application. Then write the following code and press enter.
ng new myfirst-app (don’t use underscore sometime it creates problem)
Step 4: Now to host your application in local host we need to host the application you just created, For that run following command.
ng serve
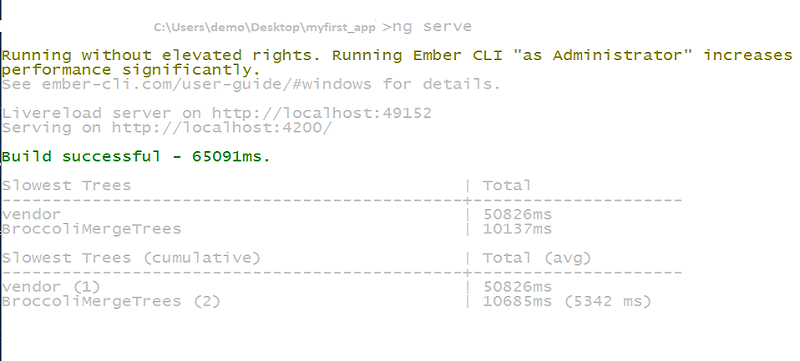
Good to go your first application is now created and ready for use.now simply go to your browser and paste the URL

Now the browser will get angular2 directives and your first page will be loaded as following.

In Summary
Hi, Readers, this was one of my first involvement in Blog writing & Publishing to Website So If there is any mistakes or error regarding typo and content please excuse me.
Well this was the end of first demo of getting started with angular2 in just few simple steps. Hope it will help you in future and also you can give us your feedback and stay connected for more update on angular2 demos. Here by, I am starting the new series of angular2 demo. In my next article I will show you how to bind data with angular directives, events, routing, and directives and so on. Stay tuned for more updates and yes let’s do it angular2 MY WAY. I would be feeling more energetic & motivated if I get some feedback from the readers (so called future coders) so, Guys please give the feedback. Cheers!!!!


nice sir
LikeLike
Very helpful…
LikeLike
Great job sir….
LikeLike
Very Nice Sir…
LikeLike
Nice sir
LikeLike
[…] In this tutorial I will explain how to upload image in angular2. In this demo I am using angular2 as front end and node.js (with express template) as back end and mysql as database. I am using angular-cli to create the project. I hope that you guys already created the project using angular-cli if not you can find how to create project using angular-cli. […]
LikeLike
[…] If you don’t know how to install Angular Cli or you are new to Angular Cli , Please Follow my blog here for stp by step guide of how to install angular Cli. […]
LikeLike
[…] Angular-CLI […]
LikeLike